
Launching a token is only one part of the journey. Once your ERC20 tokens are deployed, the next important question is: how can people buy, sell, and trade them?
For many blockchain projects, the answer is to create a liquidity pool on a decentralized exchange (DEX). A liquidity pool provides the trading infrastructure that allows users to swap your token against another supported asset without relying on a traditional centralized exchange.
For beginners, the process can sound technical. However, when the token contract is properly prepared and the correct network is selected, creating a liquidity pool can be broken down into a few manageable steps.
This guide explains how to prepare your token, choose a DEX, add liquidity, and make your ERC20 tokens available for decentralized trading. It also covers how tools such as a Sepolia ERC-20 Token Creator and an Ethereum Sepolia Token Generator can help developers and project owners test their setup before moving to a live network.
What Is an Ethereum Liquidity Pool?
A liquidity pool is a smart contract that holds two assets used to facilitate decentralized trading. For example, a pool might contain your newly created token and another asset such as ETH or a stablecoin.
Instead of matching buyers and sellers through a traditional order book, a DEX uses the assets stored in the pool to enable token swaps. The amount of each asset in the pool helps determine the market price based on the exchange’s automated market-making mechanism.
If you want your ERC20 tokens to become tradable on a decentralized exchange, you generally need to provide initial liquidity. The process usually involves pairing your token with another asset and depositing both into a compatible liquidity pool.
Before committing real funds, many developers test the complete workflow on a test network. This is where a Sepolia ERC20 Token Creator can be useful. It allows users to create and experiment with test tokens before handling a production deployment.
Step 1: Create and Prepare Your ERC-20 Token
The first step is straightforward: you need a functioning token contract.
A standard ERC-20 token should be properly configured before you consider adding liquidity. This includes choosing:
- Token name
- Token symbol
- Total supply
- Decimal settings
- Minting permissions, if required
- Burning functionality, if required
- Ownership or administrative controls
The important part is not simply creating the contract. You should understand how your token supply and permissions will affect the project after launch. For example, unlimited minting capabilities may create trust concerns if they are not clearly disclosed.
This is also a good stage for testing. A Sepolia ERC20 Token Creator can make it easier to generate test ERC20 tokens and review the token creation process without immediately using real assets. Similarly, an Ethereum Sepolia Token Generator can support projects that want to test deployment, wallet interactions, and contract behavior on the Sepolia test network.
For users who do not want to manually write every line of a token contract, Token Peddler offers a more simplified approach to custom token generation. The platform is designed to help users configure and deploy tokens through a no-code process while maintaining control through their connected wallet.
However you create your token, testing is strongly recommended before proceeding with liquidity.
Step 2: Choose the Right DEX and Network
Not every decentralized exchange supports every blockchain network or every token standard in the same way. Before creating a liquidity pool, confirm that the DEX supports the Ethereum network and the type of liquidity pair you want to create.
Your choice should depend on factors such as:
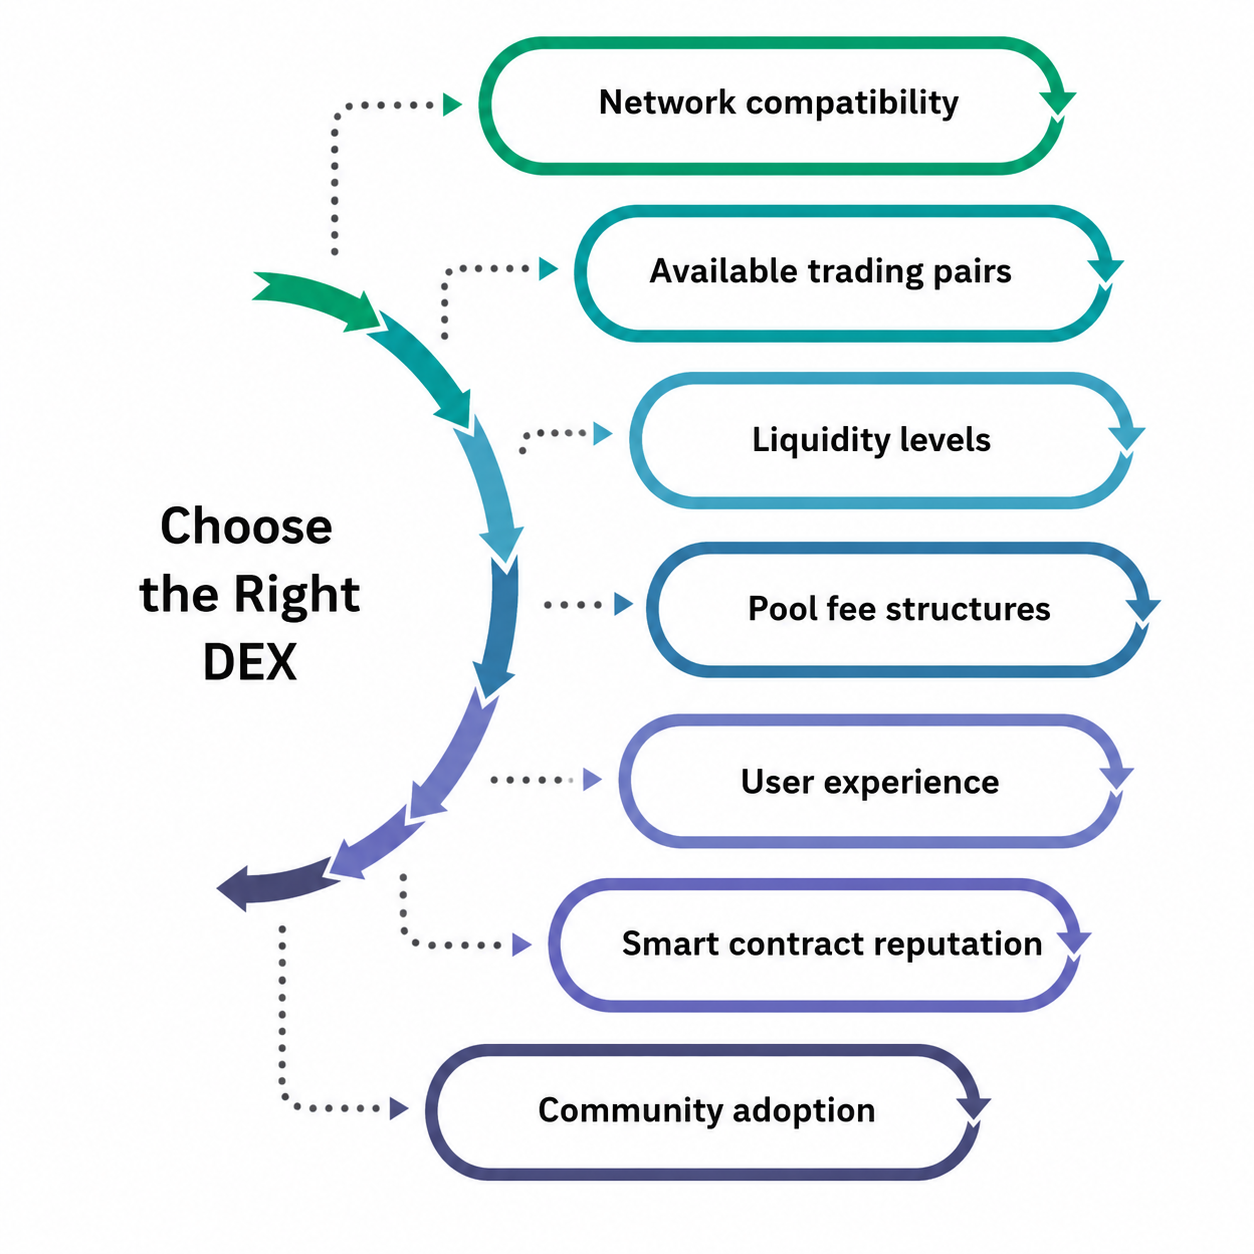
- Network compatibility
- Available trading pairs
- Liquidity levels
- Pool fee structures
- User experience
- Smart contract reputation
- Community adoption
For example, if your token is deployed on Ethereum, you need to use a DEX and liquidity protocol compatible with Ethereum-based ERC20 tokens.
It is also essential to distinguish between testnet and mainnet activity. A token created using an Ethereum Sepolia Token Generator exists on the Sepolia testnet and cannot automatically be traded on an Ethereum mainnet DEX. Testnet assets are primarily intended for development and testing.
A good workflow is to test the process first, identify any configuration issues, and only then prepare for a mainnet launch.
Step 3: Decide Your Initial Liquidity and Token Pair
Once your token is ready, you need to decide what it will be paired with in the liquidity pool.
Common options include pairing ERC20 tokens with ETH or another established asset supported by the selected DEX. The assets you deposit into the pool create the initial liquidity available for trading.
This step deserves careful thought because the initial liquidity can influence early trading conditions. You should determine:
- How many tokens you want to place in the pool.
- How much of the paired asset you can contribute.
- What initial price your deposited ratio implies.
- How much liquidity should remain available for future operations.
One common mistake is treating the initial price as a random number. In automated market-making systems, the relationship between the two deposited assets plays an important role in establishing the starting exchange rate.
Before committing funds, review the numbers carefully. Testing with a Sepolia ERC20 Token Creator can help project owners better understand how token balances, wallet approvals, and liquidity interactions work in a lower-risk environment.
You should also avoid committing more funds than your project can reasonably afford to keep locked or exposed to market fluctuations.
Step 4: Approve Your Token and Create the Liquidity Pool
After choosing your token pair and liquidity amount, connect the wallet that holds the required assets to your chosen DEX.
The general process usually looks like this:
- Connect your Web3 wallet.
- Select the option to create or add liquidity.
- Choose your custom token.
- Select the paired asset.
- Enter the deposit amounts.
- Approve the token contract for use by the DEX.
- Review the transaction details.
- Confirm the transaction through your wallet.
The approval transaction is important because the DEX needs permission to interact with the specified amount of your ERC20 tokens. Always check the contract and transaction details before confirming.
Once the transactions are completed, the liquidity pool is created or funded, depending on the DEX’s existing pool structure. You may receive liquidity provider tokens or another form of position representation showing your share of the pool.
For teams using a Sepolia ERC20 Token Creator, the same general process can be tested with testnet assets before real liquidity is involved. This can help reduce avoidable errors during a production launch.
Step 5: Verify, Monitor, and Share Your Token
Creating the pool is not the final step. After the liquidity is live, you should verify that users can locate and trade your token correctly.
Start by checking:
- The correct token contract address
- Pool availability
- Token symbol and decimals
- Swap functionality
- Transaction results
- Price display
- Liquidity levels
Never rely only on a token name or symbol when identifying ERC20 tokens. Multiple tokens can use similar names, which is why the official contract address should be clearly published through your project’s trusted channels.
It is also important to monitor the pool over time. Trading activity, liquidity changes, and price volatility can affect the user experience. If your project has additional tokenomics features, make sure your community understands how they work.
Transparency builds trust. Clearly communicate important information about supply, liquidity, administrative permissions, and any future token-related plans. Avoid unrealistic promises about price growth or guaranteed returns.
Why Testing on Sepolia Before Launch Makes Sense
Testing is one of the most practical ways to reduce mistakes in blockchain development.
Using a Sepolia ERC20 Token Creator gives you an opportunity to create test ERC20 tokens and understand the deployment process before moving to a network where transactions involve real value. You can test wallet connections, token transfers, approvals, and other contract interactions in a more controlled environment.
An Ethereum Sepolia Token Generator can be particularly helpful for developers, startups, and learners who want to experiment with token configuration without immediately starting on mainnet.
This testing stage may reveal issues such as:
- Incorrect token settings
- Wrong decimal configurations
- Wallet connection problems
- Failed approvals
- Unexpected transaction costs
- Incorrect contract addresses
The more thoroughly you test, the more confident you can be when preparing your actual launch.
How Token Peddler Can Simplify Token Creation
Creating a token and preparing it for decentralized trading does not always require building every component from scratch.
Token Peddler provides a no-code environment designed to simplify custom token generation for users exploring multiple blockchain networks. You can configure token details and move through the creation process with a more user-friendly workflow.
For projects testing Ethereum-based assets, a Sepolia ERC20 Token Creator can be useful for experimenting before a mainnet deployment. Token Peddler supports a streamlined approach to token creation while users interact through their own connected wallets.
The goal is simple: reduce unnecessary technical complexity without removing the importance of reviewing token settings, testing functionality, and understanding what happens on-chain.
Whether you are building a startup project, a community token, or experimenting with blockchain technology, having the right tools can make the process easier to manage.
Common Mistakes to Avoid When Creating a Liquidity Pool
Even experienced teams can make mistakes when launching a new pool. Watch out for these common issues:
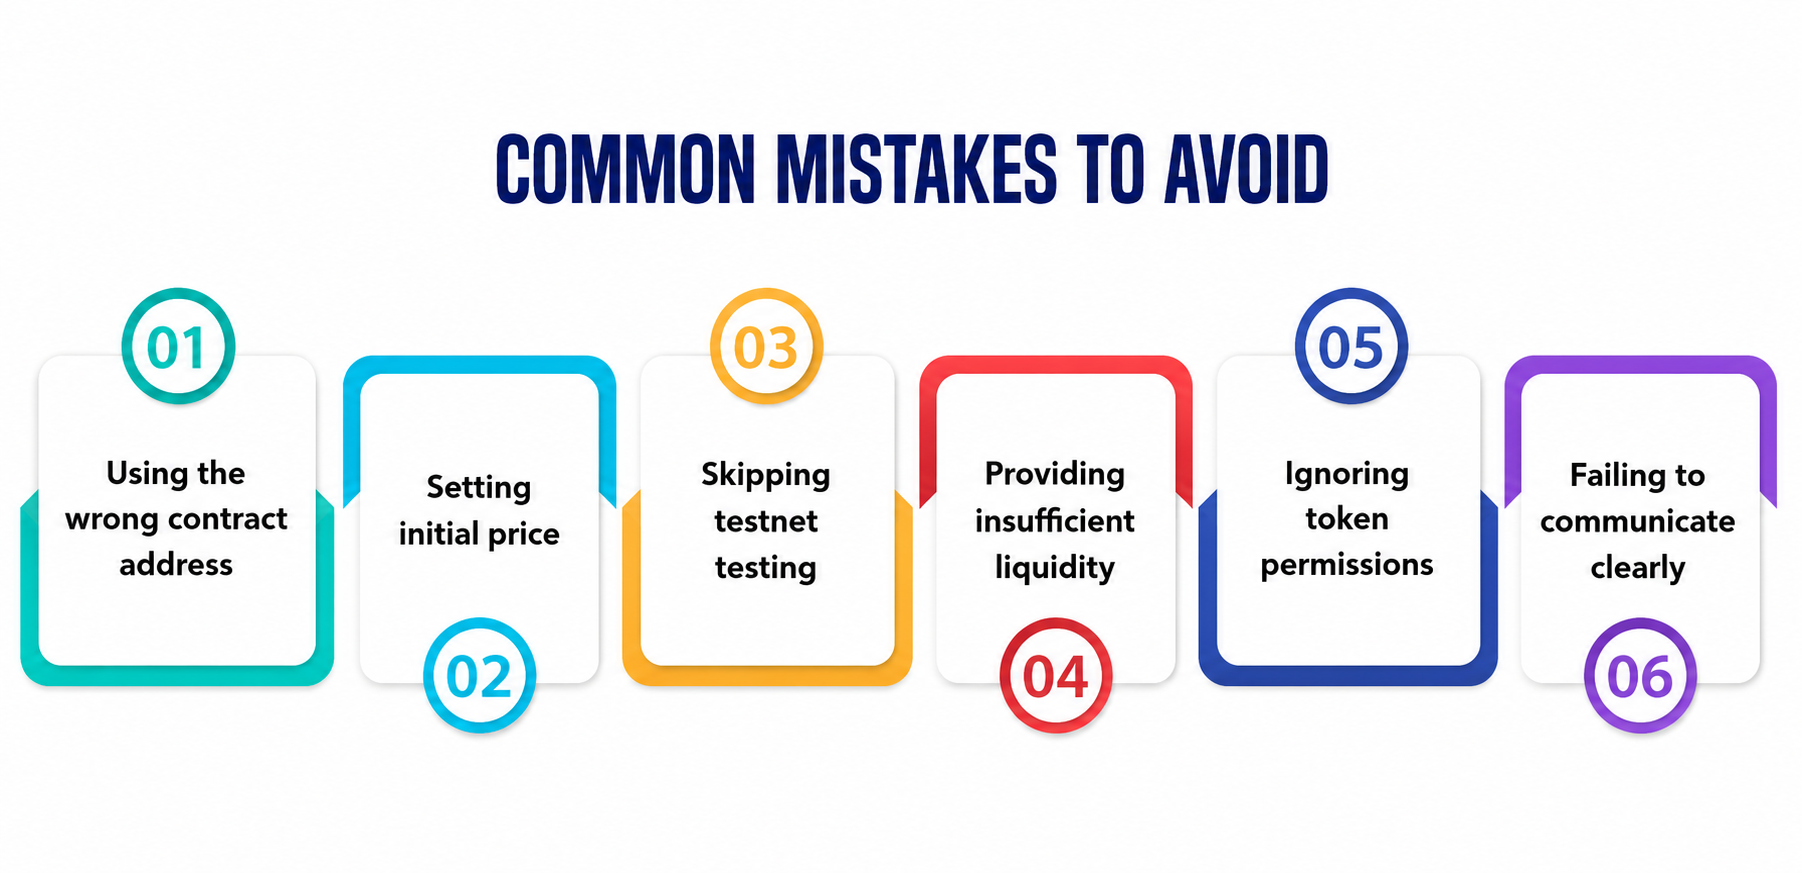
Using the wrong contract address: Always copy and verify the official contract address before creating a pair.
Setting an unintended initial price: Double-check the ratio between your token and the paired asset.
Skipping testnet testing: Use tools such as a Sepolia ERC20 Token Creator to understand the workflow first.
Providing insufficient liquidity: Low liquidity can create a poor trading experience and significant price movement.
Ignoring token permissions: Understand whether your token contract allows future minting, pausing, or other administrative actions.
Failing to communicate clearly: Publish accurate token details and avoid misleading claims.
Final Thoughts
Listing a token on a DEX is not simply about clicking an “add liquidity” button. A successful launch begins with properly configured ERC20 tokens, careful testing, realistic liquidity planning, and transparent communication.
The five basic steps are simple: create your token, choose a compatible DEX, decide your token pair and liquidity, approve and add the assets, then verify and monitor the pool.
Before using real funds, testing with a Sepolia ERC20 Token Creator or an Ethereum Sepolia Token Generator can help you understand the process and catch potential issues. For users looking for a simpler approach to custom token generation, Token Peddler can also provide a practical starting point for creating and launching tokens.
Take the time to test, review every transaction, and make sure your community has access to accurate information. In Web3, careful preparation is often just as important as the launch itself.
FAQs
- Can I list any ERC-20 token on a DEX?
Generally, you can create a liquidity pool for compatible ERC20 tokens on a DEX that supports the relevant blockchain and token pair. Always review the DEX’s requirements before proceeding.
- What is a Sepolia ERC20 Token Creator used for?
A Sepolia ERC20 Token Creator is useful for creating and testing ERC-20 tokens on the Sepolia testnet before moving to a live Ethereum environment.
- Do I need liquidity to make my token tradable on a DEX?
In most cases, yes. You need to add assets to a liquidity pool so users can swap between your token and the paired asset.
- Can I use an Ethereum Sepolia Token Generator for mainnet trading?
No. Tokens created on Sepolia are testnet assets. You need a separate mainnet deployment before creating a mainnet liquidity pool.
- How can Token Peddler help with token creation?
Token Peddler offers a streamlined, no-code approach to custom token generation, helping users configure and create tokens while interacting through their own connected wallets.